
How To Install Stone Slips
How To Install Pre-Cast Stone Cladding
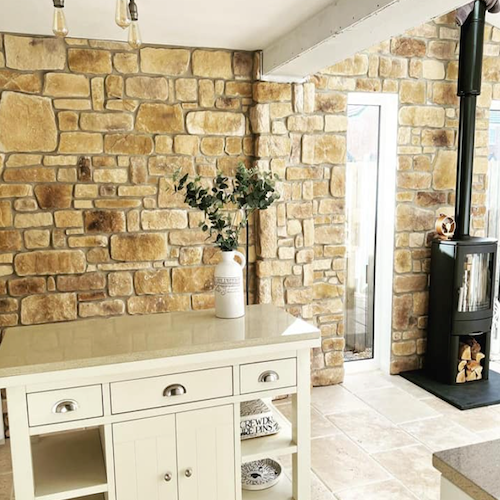
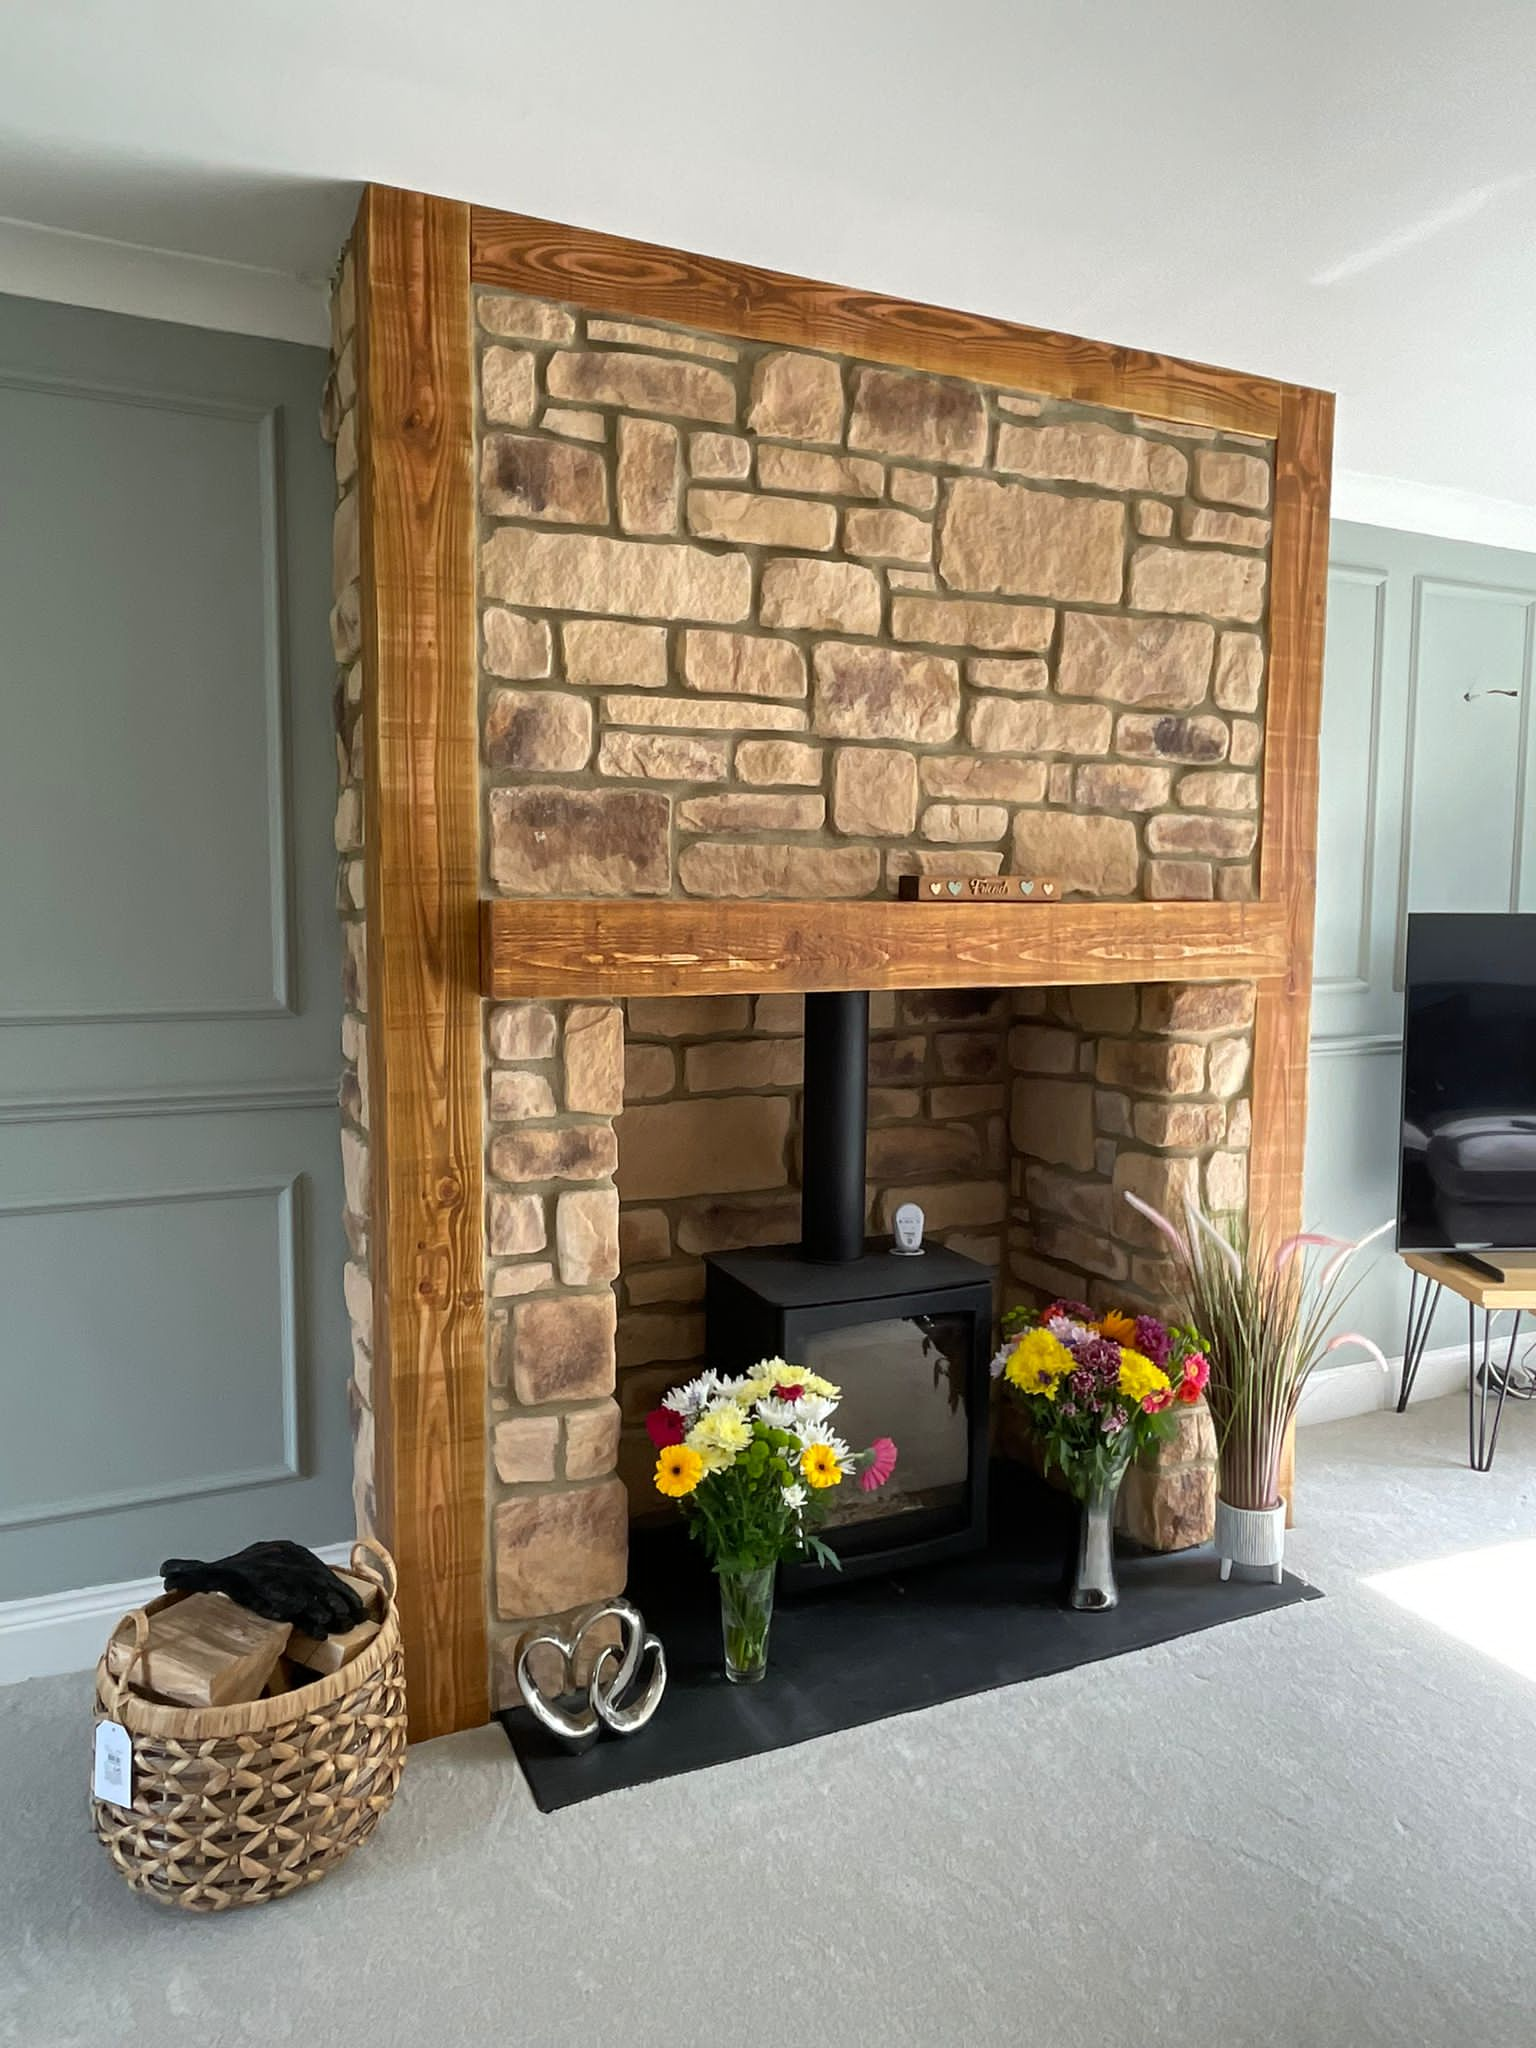
A practical installation guide for measuring, preparing, setting out, fixing, cutting, pointing and caring for your new pre-cast concrete stone cladding wall. This guide is written for customers using Brick Slips UK stone cladding for feature walls, fireplaces, kitchens, bathrooms, garden walls and selected exterior projects.
View our full stone cladding collectionConcrete stone cladding needs the right prep
Brick Slips UK stone cladding is a pre-cast concrete product, made to recreate the look of natural stone without being cut from real stone. This means it is easier to handle than full stone, but it still needs a stable wall, suitable primer, powder-based adhesive and careful pointing.

1Mix your boxes
Use pieces from multiple boxes so colour, size and texture are blended naturally across the wall.
2Check the backs
Brush dust from the back of each piece before fixing so the adhesive bonds to the concrete properly.
3Protect the area
Cover floors, skirting, kitchen units, fireplaces and furniture before cutting, fixing or pointing.
Cutting concrete creates dust
Wear gloves, eye protection and a suitable dust mask when cutting or brushing. Cut outdoors where possible. Do not use acid cleaners on the face of the stone. For fireplaces and log burners, check the appliance guidance and use suitable adhesive, primer and mortar for the heat zone.
Tools and materials checklist
Gather everything before mixing adhesive. Pre-cast concrete stone cladding is simple to fit, but the result depends on good surface preparation, full adhesive contact and tidy pointing.
Stone cladding
Full boxes, samples and corner packs where required.
Powder adhesive
Use suitable powder-based stone or tile adhesive for the substrate.
Primer
Prime porous or dusty surfaces before applying adhesive.
Pointing mortar
Use a suitable pointing mix to fill the joints after fixing.
You will usually need
- Pre-cast concrete stone cladding and corner packs if returns are visible.
- Suitable primer such as an acrylic or PVA-based primer, depending on the wall.
- Powder-based stone or tile adhesive.
- 6mm notched trowel and mixing trowel.
- Mixing buckets and paddle mixer.
- Tape measure, pencil, spirit level and straight edge.
- 10mm spacers to help keep the stacked look consistent.
- Wet tile saw, angle grinder or suitable masonry cutter.
- Pointing mortar or suitable sand and cement pointing mix.
- Pointing gun, pointing trowel and joint profiler.
- Stiff bristle brush or wire brush for cleaning mortar haze carefully.
- Dust sheets and masking tape.
- PPE: gloves, eye protection and dust mask.
- Optional extra sealer only where your project specifically requires it.
Work out how much stone to order
Measure each wall separately and add the square metres together. Brick Slips UK stone cladding boxes cover approximately 0.8m², so divide your total m² by 0.8 to estimate box quantity, then add waste.
A1. Area
Height × width = m². For several walls, add each wall total together.
B2. Boxes
m² ÷ 0.8 = approximate number of boxes required.
C3. Waste
Add around 10% to allow for cuts, breakages and choosing the best shapes.
Corner packs
For visible external corners, measure the total vertical metres. Corner packs help create the look of full stone returns rather than exposed cut edges. Browse matching options in our stone cladding range.
Make the wall ready to bond
Pre-cast concrete stone cladding is fixed to the wall with adhesive, so the wall behind it matters. The surface must be stable, clean, dry and suitable for the weight of the cladding, adhesive and mortar.
- Stable
- Dry
- Clean
- Primed where needed
Prep sequence
- Remove loose paint, dust, grease, wallpaper and flaking material.
- Check the wall is sound. Do not install over crumbling, damp or hollow surfaces.
- Score firmly bonded paint so adhesive is gripping the wall, not just the paint film.
- Prime porous backgrounds such as plaster, plasterboard, blockwork, brick or timber board.
- Brush dust from the back of the stone pieces before fixing.
- Allow primer to dry fully before applying adhesive.
Plasterboard / plaster
Prime first and check the board or plaster is dry, secure and suitable for the load.
Brick / blockwork
Brush clean and prime where needed before applying adhesive.
Painted wall
Only install over sound paint. Score the surface and prime where required.
External wall
Use products suitable for exterior exposure, frost and weather conditions.
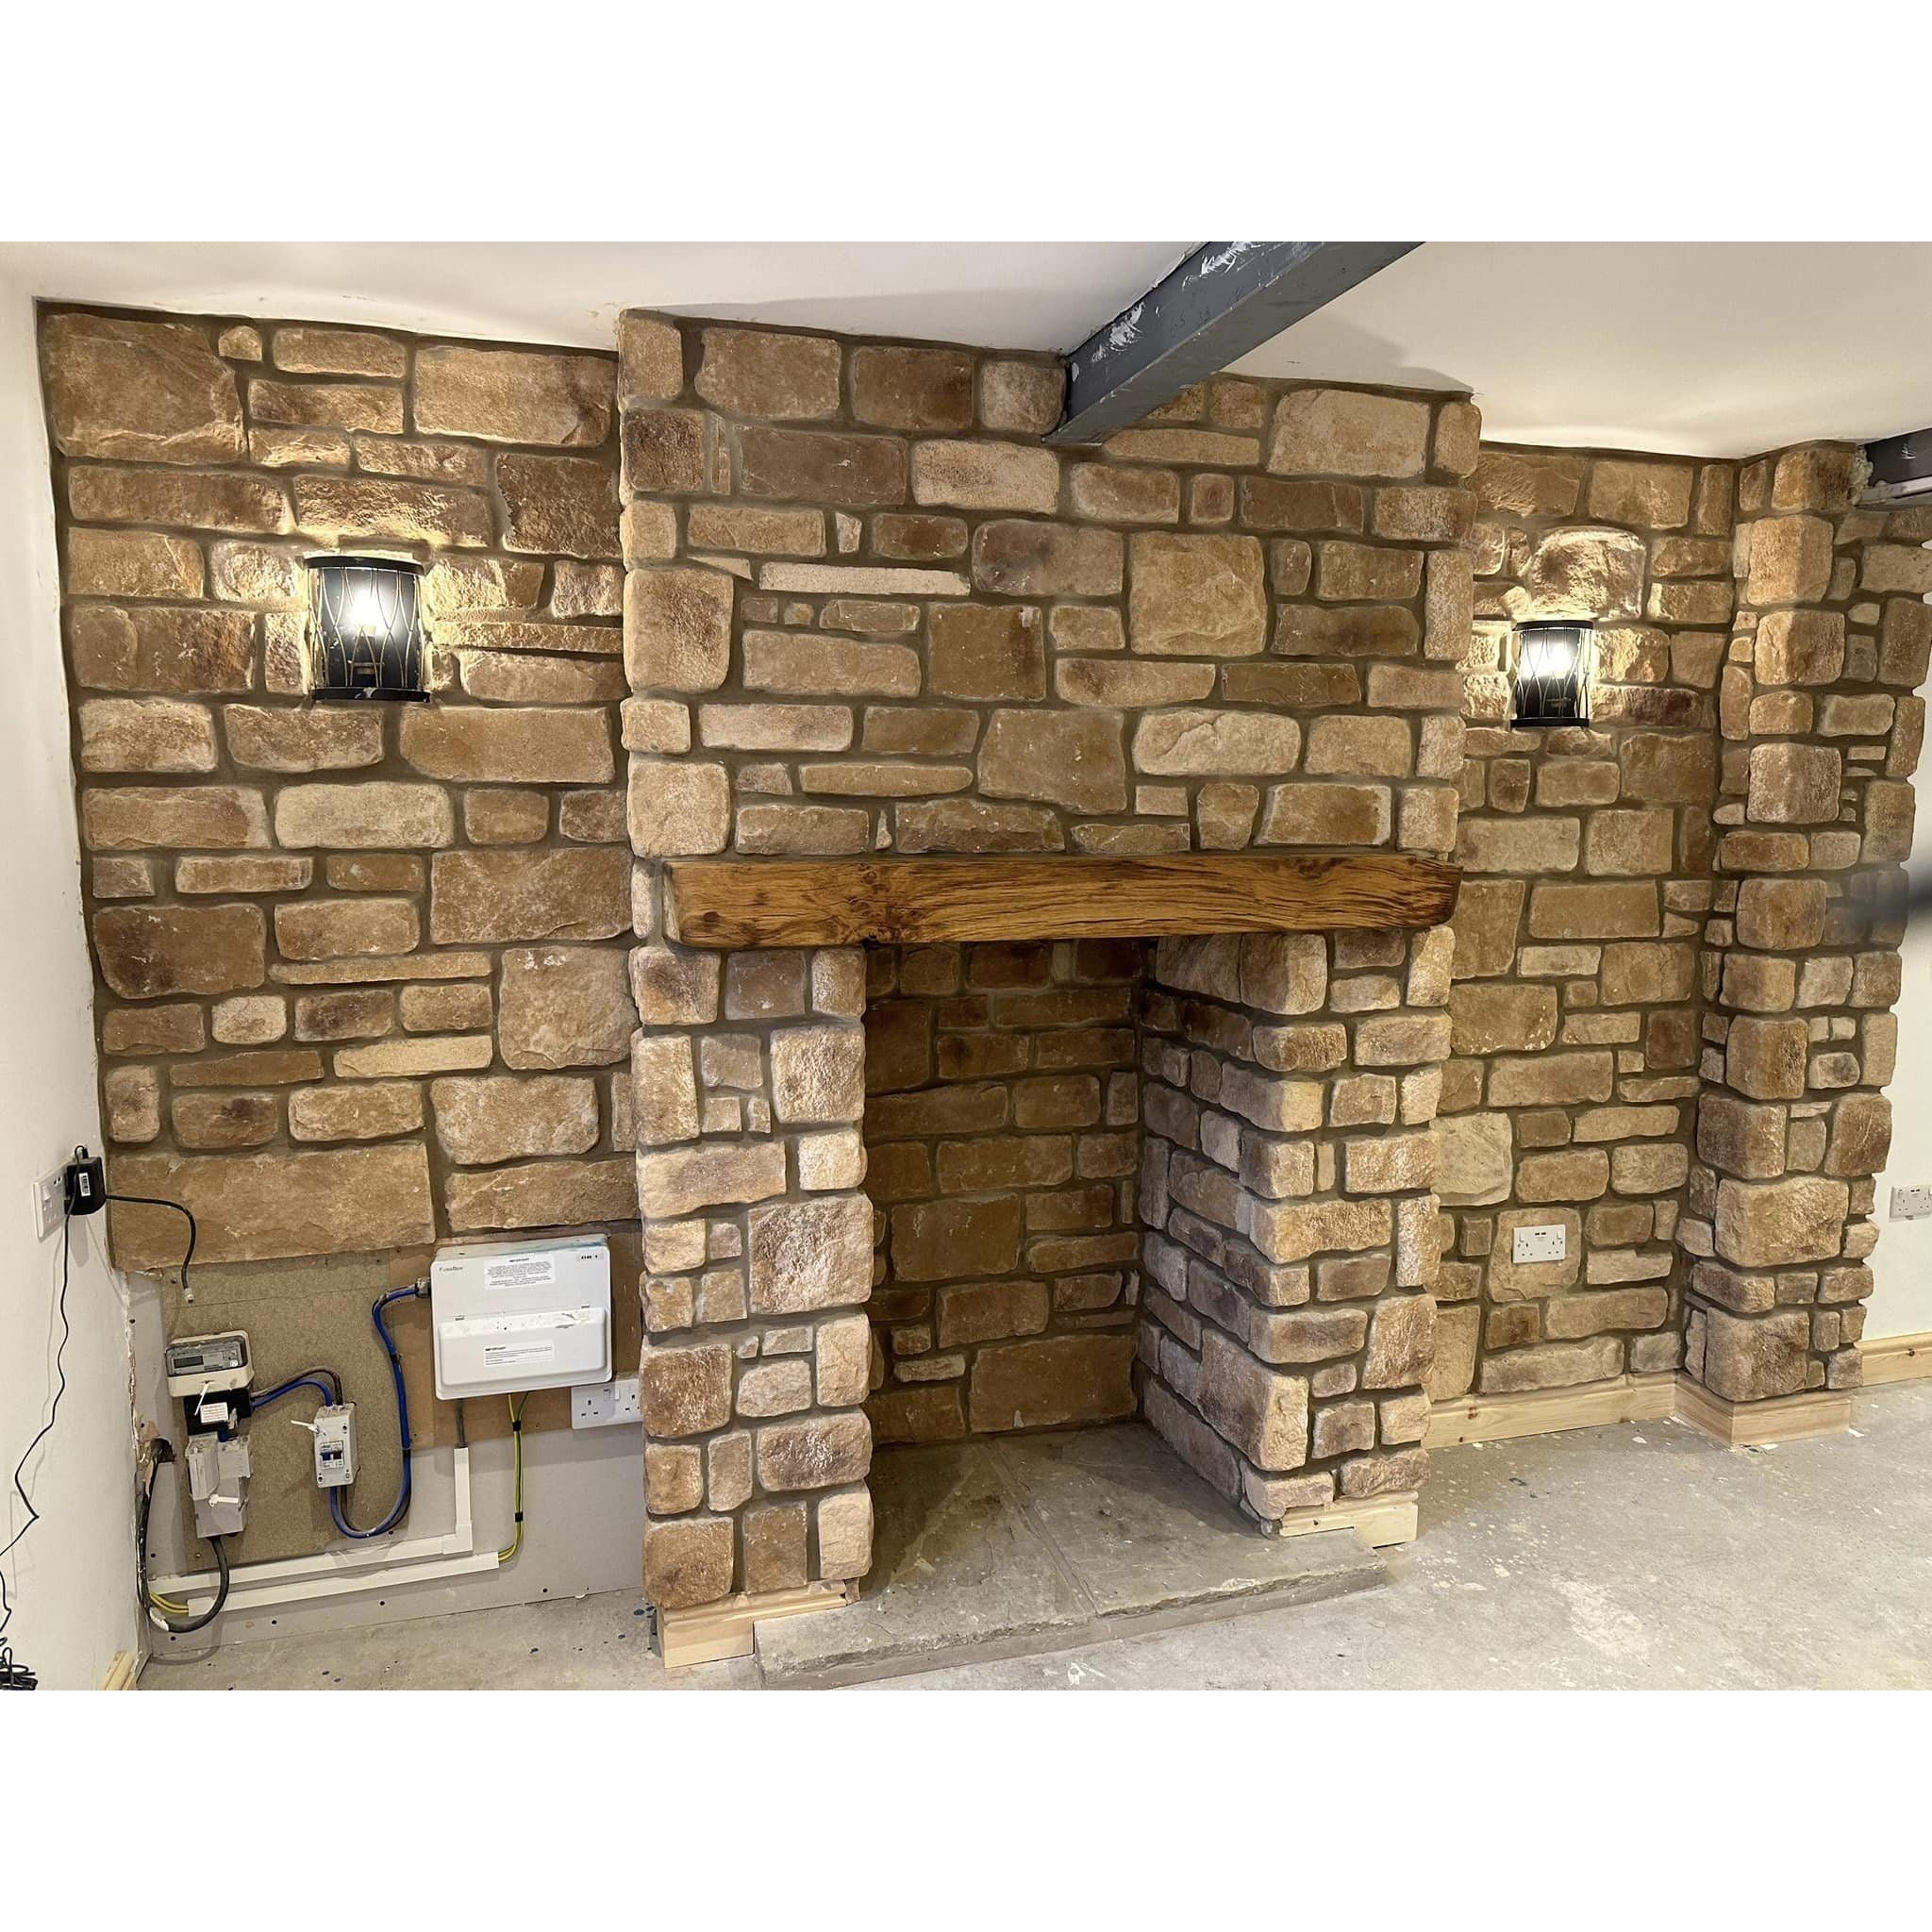
Create a natural stacked stone layout
Pre-cast stone cladding is installed in a random stacked pattern rather than a strict brick bond. Mix the different sizes, avoid repeated shapes and use smaller pieces to infill gaps naturally.
Good layout: mix large, small, long and short pieces.
Avoid: repeated sizes, obvious vertical lines or clusters of one shade.
1Dry lay first
Place stones on the floor so you can see the mix of sizes and tones before fixing.
2Start corners first
If your project has visible returns, install corner pieces before the flat wall sections.
3Use spacers lightly
Use spacers as a guide, but keep the pattern natural rather than perfectly tiled.
Tip: step back regularly
The stone pattern is judged from a distance, not only close up. Step back often and adjust pieces while the adhesive is still workable.
Apply adhesive and build up the wall
Mix powder adhesive to the manufacturer’s instructions. Work in small areas, comb adhesive onto the wall and back-butter the stone where needed. Because this is pre-cast concrete, full contact matters more than soaking or treating it like natural stone.
Use full adhesive contact
Comb adhesive evenly and press each piece firmly so the back is fully supported.
Fixing sequence
- If you have external corners, start with the corner pieces from the bottom upwards.
- Brush dust from the back of each stone before applying adhesive.
- Spread adhesive with a 6mm notched trowel and work in small sections.
- Back-butter individual stones where needed to achieve full contact.
- Press each piece firmly into place with a slight wiggle or push.
- Build along the bottom row first, mixing sizes and colours as you go.
- Clean fresh adhesive from the stone face and joints before it hardens.
For matching products and sample options, browse our full stone cladding collection.
Finish edges neatly
Corners and cut pieces make a huge difference to the finished wall. Pre-cast concrete stone can be cut with suitable masonry cutting equipment. Measure carefully, cut safely and keep exposed cut edges to a minimum.
Corner pieces first
Use corner pieces on visible returns for a more realistic full-stone finish.
Measure the cut
Remaining gap - mortar gap = cut size
Example: 40mm gap - 10mm joint = 30mm cut.
Practical cutting rules
- Measure the gap, allow for the mortar joint, then mark the stone clearly before cutting.
- Cut outdoors or in a well-ventilated area and wear a dust mask, gloves and eye protection.
- Use a wet tile saw, angle grinder or suitable masonry cutter. Support the stone firmly.
- Brush cutting dust from the face and back before fixing the cut piece.
- Around sockets, isolate power and use a qualified electrician if the faceplate needs moving or extending.
- Use purpose-made corners on visible returns rather than leaving exposed cut edges.
Let it set, then fill the joints
Allow the adhesive to cure before pointing. Brush out loose dust and adhesive crumbs first, then fill the joints fully with pointing mortar. Take care not to smear wet mortar across the pre-sealed concrete face.
Fill the gaps fully
Profile while workable, then brush back carefully before the mortar hardens.
24h
A common minimum wait before cleaning and pointing. Always follow the adhesive manufacturer’s curing time.
Pointing sequence
- Allow adhesive to cure before pointing.
- Brush out dust, crumbs and excess adhesive from the joints.
- Mix mortar in small batches to a workable consistency that holds its shape.
- Use a pointing gun or pointing trowel to fill every joint fully.
- Profile the joints neatly while the mortar is workable.
- Brush the stone faces lightly once the mortar has firmed up. Do not heavily sponge textured faces.
Clean gently and avoid harsh treatment
Brick Slips UK stone cladding is pre-cast, coloured and sealed during production. It is designed to be low maintenance, so aftercare should be gentle: brush dust away, wipe small marks carefully and avoid acid cleaners, harsh chemicals or pressure washing.
Final checklist
- The stone mix looks natural from a distance.
- There are no obvious repeated shapes or vertical lines.
- All joints are filled, profiled and brushed back neatly.
- Corners and cut pieces look intentional and secure.
- There are no heavy adhesive or mortar smears on the stone face.
- The wall has been cleaned gently without aggressive chemicals.
Avoid these common mistakes
Treating it like cut natural stone
This is pre-cast concrete stone cladding, so focus on dust removal, full adhesive contact and careful pointing.
Using acid cleaner
Avoid acid-based cleaners and harsh chemicals, as these may affect the surface finish.
Pointing too early
Let adhesive cure before filling the joints.
Over-wetting or pressure washing
Use gentle brushing or light cleaning instead of pressure washing or soaking the wall.


